Translate

Sunday, June 29, 2014

Fire & Fury ACW Game

As an interesting diversion between Napoleonic games, I got to play in an ACW game using a modified version of Fire & Fury. This version used a single D6 versus the normal D10. The charts were of course modified as required in order to accommodate the different dice used.

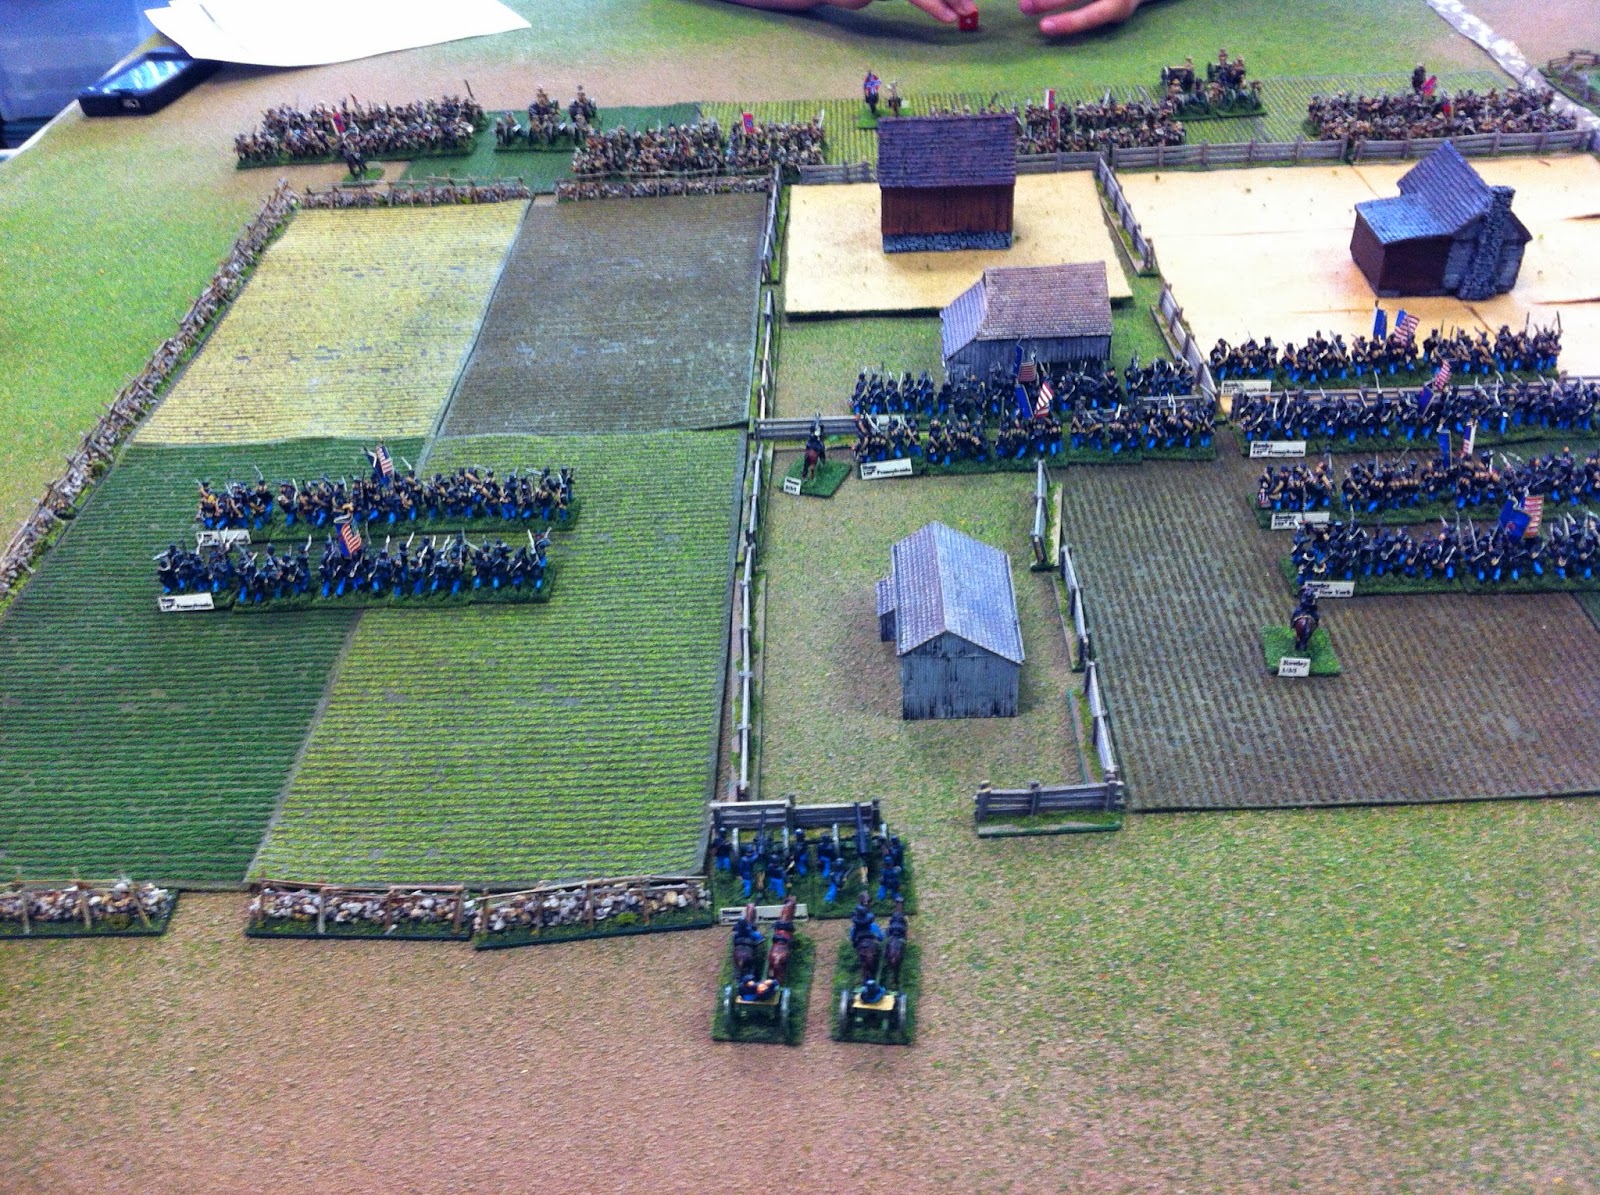
The battle was not a historical scenario and had two mirror image forces playing in order to test out the modifications. I played on the Union side with two divisions of four brigades and two batteries of artillery each. This is the command for each of the four players.

Union left and Confederate right. Much of the build up for the Union was for a center push and the Confederates tried for a turning of the flank style. Having mirror commands opposing each other, this was going to be down to luck of the dice more than strength of numbers of reserves.

The Union right and Confederate left commands. The Union combined battery in the center knock out a Confederate brigade, directly opposite, in two turns of sustained fire with some good rolls. My stacking the center for punching a hole and then splitting off left & right was going to be a bit easier now.

One the Confederate left, the player was more aggressive and didn't wait for the Union to soften up his lines with artillery bombardments. Seeing the "D" for disordered, you can tell things were bloody quick on this end. Artillery turned out to not be of much use here due to the close proximity of the two forces.

As I made contact for melee, I made sure to leave a couple of brigades in reserve to fill any gap that might appear should my attack go badly. The Confederate brigade on the right in contact with my men was pushed back with some loss. The Confederate brigade on the left did better and pushed my leading brigade back with some loss.

My left front brigade suffered some well aimed artillery artillery fire for a second time and failed their subsequent morale test and broke. The second brigade was hit and I decided to pull back and use the artillery to keep some pressure on the Confederate wing so it would not close in on the center.

Here on the Union right, they managed to hold the Confederates off. Both sides manage to lose a brigade, but the Confederate attempt to push on was stalled. A couple of Union brigades attempt to "L" the Confederate line on the far right. The weakened Confederate brigade left to deal with them won't survive long on its own.

With the Confederate center not open and the artillery battery silenced and about the move to the rear, my left center attack is not going as well. Time for the reserves. The center double artillery battery is broken up and I pull my battery over to my center to aim it at the approaching Confederate right that now sees an opportunity.

Another Confederate brigade breaks and the line pulls back to play defense. The Union line is a bit scattered over here but still intact. The Union have a 2:1 artillery advantage that could be used if the other battery can be brought up into the line.

The Confederate right decides to swing shut just as my second battery unlimbers. My battery at the bottom is low on ammunition and will have to move to the rear on the following turn. I manage to silence the aggressive Confederate battery so it too will have to go to the rear. The Union attack here is also wheeling forward.

In this final photo, one can see a Confederate division reached a breaking point and is gone. The Confederate brigade on the right also had the same problem and so what was left of it and the battery of artillery attached to it leave the field. All four Union divisions are still present, but just barely so. The Confederate players throw in the towel. It was clearly over at this point as we still had all of our artillery and they had only half of their batteries remaining.

Fire and Fury is a difficult set of rules to fall in love with in its sanctioned form. This modification dealt with limiting formations for infantry, upped the fire points for infantry at close range and modified the unit effectiveness by giving a brigade a mandatory removal point. Official Fire and Fury had brigades staying on the field until they were literally slaughtered to a man or they somehow fell out of command range, were spent and rolled badly. That arrangement always prolonged the game play out to the point of fatiguing the players rather than the commands. To avoid fatiguing the players, limiting the number of turns was about the only way to conclude a game with some meaningful closure.

D10's tend to provide crazy results, which I'm sure was the author's clumsy way of dealing with games that tended to wear out the patience of the players. I've not played the regimental version, however hearing the general dissatisfaction with that set of rules, it appears to still be a lagging problem. I enjoyed these modifications as we got through the game in about 2.5 hours and had a clear and obvious conclusion to the game. In August there will be another game with this modification and I'll write that up with some higher quality pictures.

Sunday, May 18, 2014

Defend The Hill: Lasalle AAR

After being directed to a post on columns verses lines in Lasalle, I made a suggestion for what I believe was a more constructive approach to dealing with the situation as opposed to some of the suggestions listed on the post. This was not the first time I had run across the issue, as it creeps into all Napoleonic rules to one degree or another. Although I do not recognize this to the level as a problem, I do see an historical point of view that was never addressed for point blank volley fire into deep formations. So, the rule used in this scenario as an experiment is:

An experienced infantry battalion in line, firing into an enemy unit in attack column or waves formation, may double shooting dice if within 2BW.

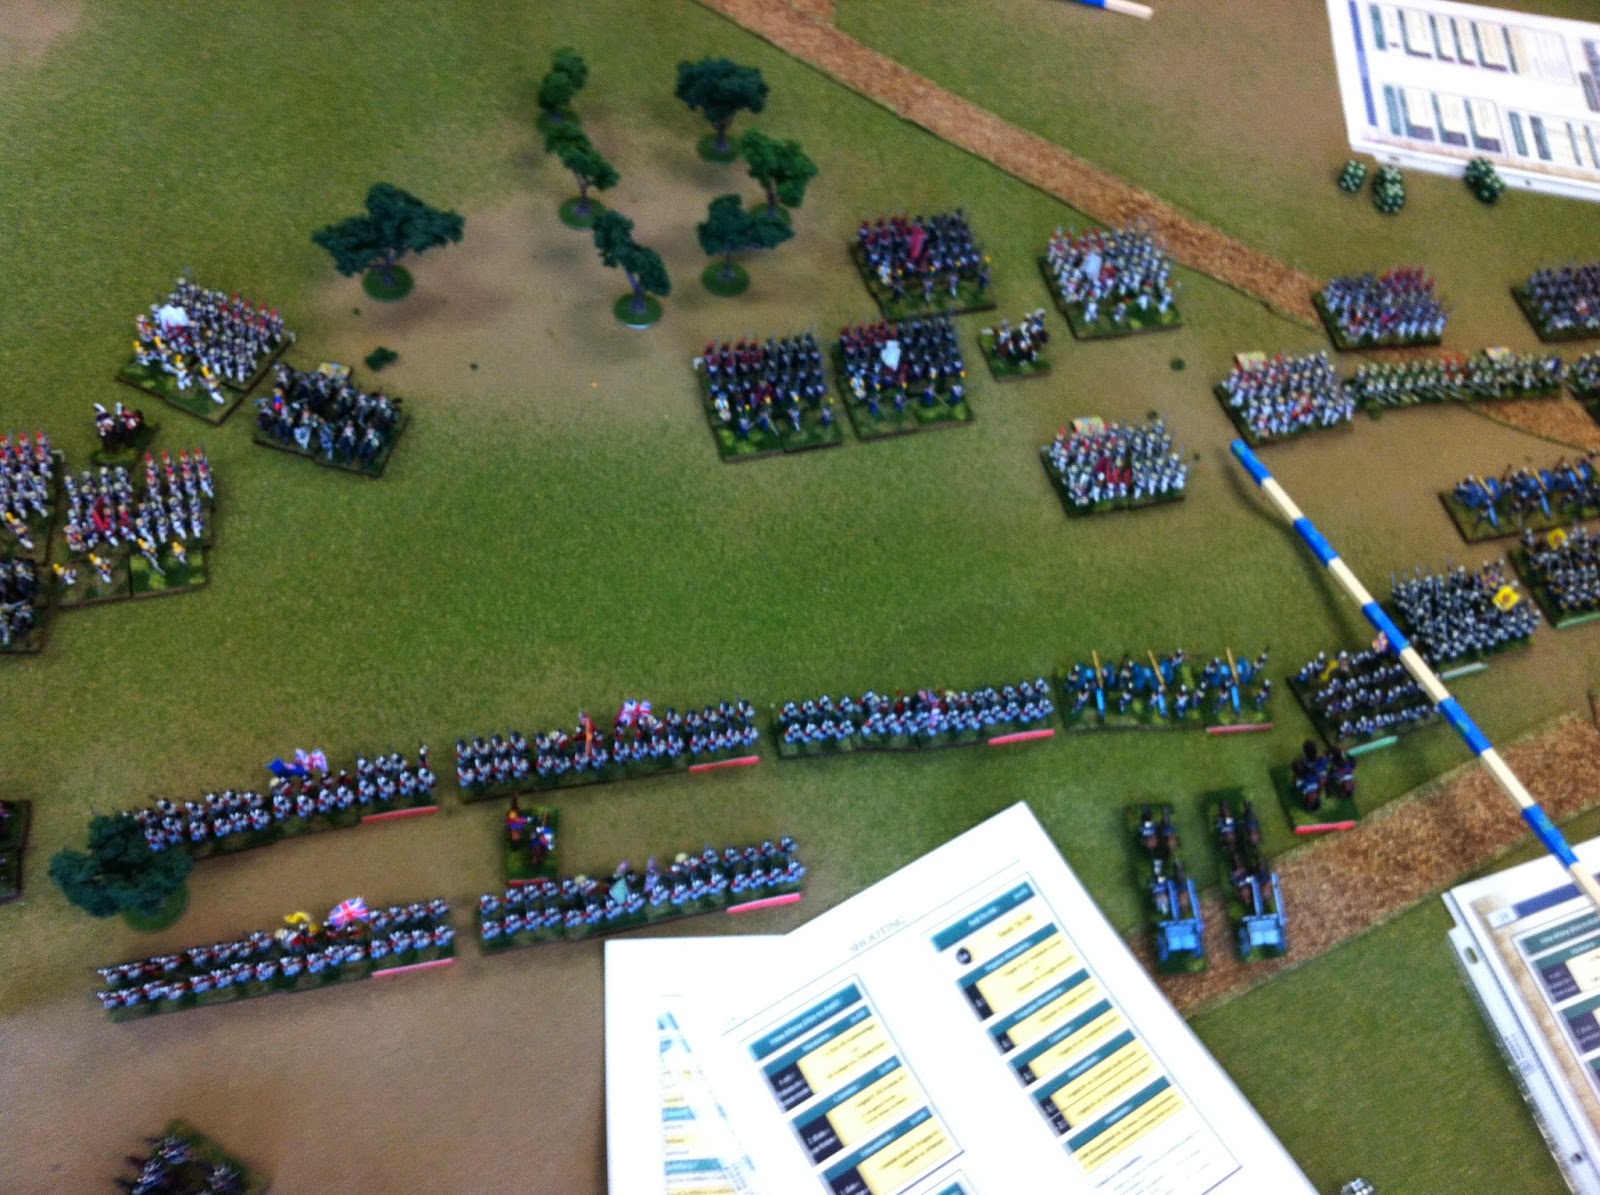
The latest store battle using Lasalle. This was a six player game with the French having a fair numerical advantage but the Anglo-Portuguese having a better position with concealment, if needed. It was a classic slug fest biding for supremacy of the field. Here we see the Portuguese contingent on the Allied right flank and in the background, the French left wing. The Allies had a numerical advantage on this flank.

I commanded the Allied center, which was to turn out to be the only part of the line that held. I'm certain this was due to the more aggressive nature of the French commanders on the flanks than my commanding.

This is the Allied left flank. Opposing them is an entire division of French dragoons and a brigade of infantry. This was to be the flank that decided the entire battle and would see the fiercest fighting.

Early in the battle the French dragoons were quite impulsive and made some rash charges which largely worked. The British square here manages to push back the dragoons but only for a moment. The French artillery is managing to soften up the defenders along the ridge which will be important later on during combat.

This will be the last image of the Scots Greys in the center. They were subsequently charged and routed off the field in one really decisive combat. Some more exchanges of cannons fire back and forth and little effect for either side.

On the Allied right, the Portuguese units with a Brunswicker battalion mixed in for fun, stand awaiting the rapidly approaching French. The French player on this particular wing seemed to be aggressive in wanting to engage but uncertain as to what formation to use. As it will turn out, multiple units will repeatedly change formation.

Back to the Allied left flank, the front British battalion was unable to pass a discipline test to form a hasty square and was promptly swept from the field. The rear battalion did manage to form square as normal and repulse the dragoons. Attempting to plug the gap, some British light dragoons came from the far left to try and cover the breech from the Scots Greys. The Royal Horse Artillery battery chose to stand its ground and fire into the chargers and take its chances in the melee. Clearly, that was a gamble.

With the artillery slaughtered (no surprise there), the square was a bit isolated and quickly going to be facing multiple cavalry units unless things change. The French artillery on this sector was now silenced due to the inability to have a clear path to any target. From this point on, this flank only managed to turn into a series of melees as the cavalry show no fear of the British battalions who were too spread out to support each other.

On the Allied right flank, the French move the artillery up close and canister the far flanking Cacadore unit. Over a few turns of longshot and canister, it was blown away. The series of melees here should have been in the Allied favor if for no other reason than sheer numbers. Due to the disadvantageous attack column the Allied player chose for a defensive formation, the fire power was reduced. This formation did allow more numbers to be brought to bear on a reduced frontage, however it did not provide and reserve to plug holes. It also could not return fire with as much power.

The French player on this wing was using a tactic used more frequently by the Prussians in 1813-1814. Cavalry come up, force the infantry into square while artillery and infantry take advantage of the situation. Here the Allied commander was facing odds not in his favor and can be excused for not being able to repulse everything thrown at him.

Here we see my opposite moving his forces toward the flank rather than smack dab into the center lines. My artillery played against these columns, but not enough to slow any of the approaching battalions down. Perhaps the Portuguese were seen as the weaker link.

My hussars had been shifted to cover the collapsing Allied left flank and as they arrived, two more British battalions routed. The light dragoons also were beaten off the hill and the great turning movement was made by the French. Both of my hussar units are lining up to charge the victorious French dragoons who moved up too far forward when consolidating their position.

Here in the center, my artillery fired canister until charged. Managing to limber up, they evaded contact with the opposing French battalion and moved to the rear. I then moved them off to try to slow the French tide on my left. My far right battalion (69th Foot) was charged by both the 1er and 2ème battalions of the 4ème Légère. The 69th did some good shooting and only suffered a minor push back from the combat. Here the shooting rule did allow me to easily inflict one casualty on each battalion.

Alas, the Allied right was outflanked to match the other flank. The dead pile on the upper right is quite lopsided when seen to the French dead pile of only one battalion on the upper left of the picture. Even if the break point for the army had not been reached at this point, the Allied player here had clearly a confused defensive strategy. The French may have changed from march column to attack column to line, but the Allied general here couldn't be bothered with dynamic tactics. Not pictured, but on the opposite flank my hussars managed to route the French dragoon unit opposed to it and that act concluded the battle.

In review, the adjusted rule for opposing columns was not as well used here as it could have been. Primarily, the Allied right was never able to exercise it and the center was only able to use it near the end of the battle. Ironically enough, the French managed to use it more effectively against the uninspired Allied right that remained in attack column. This explains why the French here formed into line and did put it to good use. The adjustment is not a game changer by any stretch of the imagination, however it is a bit more formidable than as written currently in the rule book. I believe for the mean time, I will retain it until something changes my mind.
Monday, May 5, 2014

Master Class Painting Review of La Haye Sainte

In the previous post I stated I would do a follow up once I had the La Haye Sainte kit in hand. Literally one week from when Denise at Master Class Terrain Painting received it, I had it back on my door step. This post would have gone up earlier but I was busy with a variety of things.

The package arrived packed well enough. I was asked to follow up with a comparison of a figure for reference in scale. An 18mm AB French sergeant is being used here. As you can see, the scale is just great. As for the painting...

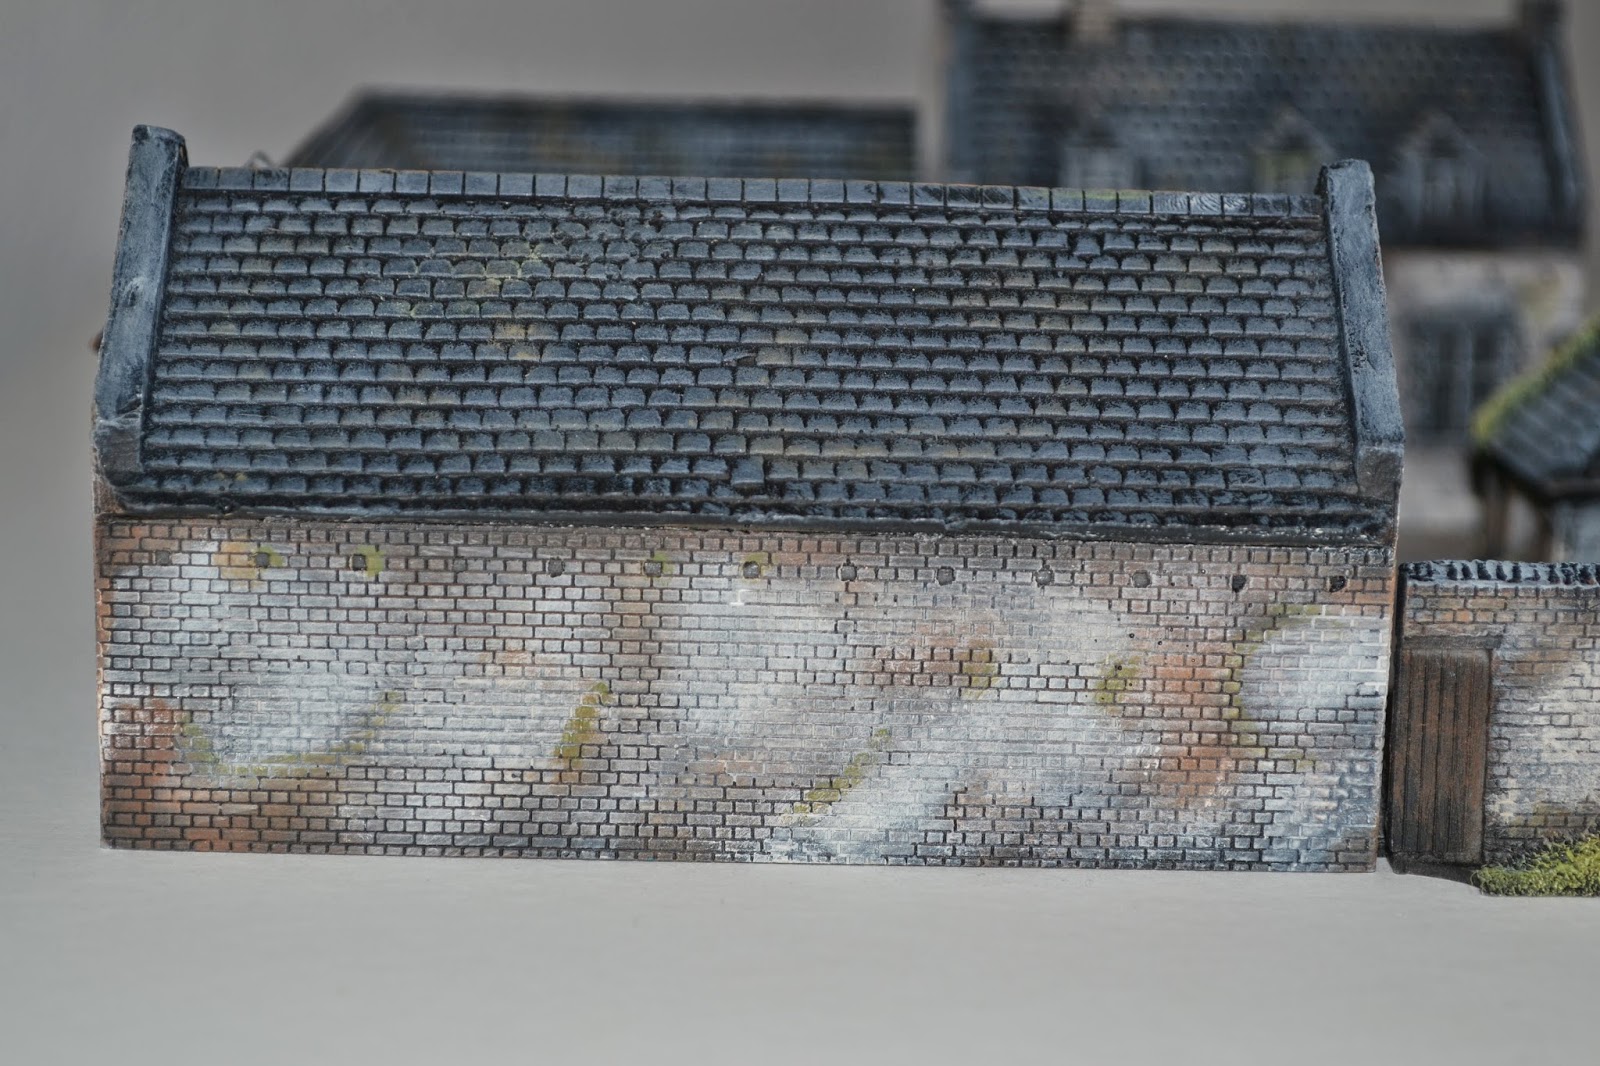
Well who could complain! The coloring is quite realistic and appears to be as if you're looking at the genuine specimen. Since the real building is painted brick, paint does wear thin over time as sun and rain takes its toll.

The wood on the doors and shutters appears as real wood ought to appear. If La Haye Sainte had painted wood, there isn't much documentation to represent it.

The uneven weathering of the roof is apparent in this image. The uniform, eveness we see today is a result of factory production instead of local shops turning out batches with possible variations.

Here we see the rear of the farm. Again, weathering applied quite well to enforce a realistic appearance. All the small brickwork still evident in the model and the painting. No heavy-handed dry brushing going on here.

Here the side door has stone work around the windows that is picked out with subtle greys. All the various weathering with the green vine gives it a good look. Denise really took time blending colors so as to avoid sharp and harsh transitions that I was hoping to avoid. My instructions weren't too detailed, just weathering being a prime concern. This complex was not new at the time of the battle and I didn't want it to appear like a cartoonish version with overly-bright colors and sharp lines defining transition.


Denise exceeded what I had expected this kit could look like in my mind. She was quick to respond with questions and updates. Some people we deal with in the miniature or painting business display an almost apathetical attitude toward customers, but not so with her. Followers of this blog may recall my other buildings she did as seen here: http://thepeninsularwar.blogspot.com/2011/02/review-sabol-designs-spanish-villages.html

Her skills are truly honed to a rare state of perfection that most modelers hope to achieve at some point in their life. From reviewing her other work on her site: http://www.masterclassterrain.com/, one can see she's not some amateur. If you are considering having some terrain painted up nice so that it will enhance your gaming table and impress your friends, then give her a try. In the future, I will be sending more terrain her way and will keep the blog updated with new terrain as it all happens.

Wednesday, April 23, 2014

La Haye Sainte Review: Tiger Terrain


While browsing eBay, I came across some beautiful and yet unique, resin buildings themed around the 1815 campaign. There were several of these buildings and I had not previously encountered. They were selling quite high likely because since even the owner appeared to be forgetful of what manufacturer created them, people probably assumed it was no longer available. I also made that assumption as I had never seen them before.


The Miniatures Page folks had some difficulty in figuring it out when I made a post that asking for help finding the manufacturer. It turns out to be from the Opus Miniatures line, now under control of Tiger Terrain. The company does not have a web site at the moment, but Stephan was kind enough to send me his catalogs and explain how he had taken over the line and was retooling the molds. The PDF catalog has great images of various buildings, bridges and other terrain that really is high class. In the past, I had purchased the La Haye Sainte kit from JR Miniatures. Although cheaper and crude, it doesn't hold a light to this kit. A plaster kit, as what Jr Miniatures offers, is not a great method of modeling detail. Until recently, I assumed La Haye Sainte was stuccoed.


This kit is resin and no molding lines were present anywhere, nor any flash or releasing agents. It was so clean I almost assumed he cleaned it up for me knowing I was doing a review, but he assured me he does not use releasing agents and the molds are new. Perhaps not evident from the pictures is the individual bricks can be seen and are all clean and precise. I wasn't able to find any blurring of details or sagging pieces. Everything slides together like a tight fitting puzzle.

One thing that attracted me to the model and sealed the deal is that it is suited for the larger 15mm or rather, 18mm ranges. Most manufacturers still insist on the older scales and haven't caught up. The foot print of this kit is indeed a little bit smaller than it ought to be if one were concerned with scale, however many of us do not want urban sprawl on our gaming table. For some reason the picture of the AB French officer on foot didn't come out right on the camera or else it would have been here for a good frame of reference on size.

The model arrived from England quickly and was packaged well. Being a quality resin, all the bubble wrap was unnecessary, but I appreciated the time took to wrap each building and wall section individually.

If you are interested in this kit or browsing their growing range of great buildings and accessories, feel free to contact Stephan at Tiger Terrain via email for your catalog: TigerTerrain@gmail.com


After some careful thought of considering the best way to approach painting this kit, I decided a professional touch might be in order. 32 pounds is nothing to brush off lightly and given the high quality of the buildings I already own (as seen in earlier reviews on my blog), I wanted it top notch. As it may be remembered I had used Sabol Studios for the previous work and it all turned out beautiful. While browsing their work online for other 15mm work they had done, I wasn't able to come across anything new in that scale they did. One thing that did catch my eye was http://www.masterclassterrain.com/ As can be seen from the home page, some of my buildings were present. As they site explains, one of the artists split off. Turns out she (yes, a great female painter! Like a four leaf clover, you hear of them but seldom find one) was the artist who did my other buildings in the past.

I tend to stick with what works and so after some emails back and forth, Denise agreed to take on the commission. This image is only a preview of a review I will do within the next week or so. It is a work in progress and should be done soon but it is already stunning. As can be seen, it is looking quite wonderful with the weathering effects. Her skill is evident and best of all, consistent. She was able to paint Spanish to Belgian and not miss a beat. La Haye Sainte close ups will be given when she's finished and I have in my possession.

Denise is quite the modeler it would seem as viewing her portfolio: http://www.masterclassterrain.com/portfolio-2 She is also working with the renowned Miniature Building Authority in painting their products. Take a look at her work and see if she can't paint some terrain up for you.

Updated picture below:


Monday, March 24, 2014

Twistercon 2014 Lasalle Scenario: Castrejon

I realize I've been very distant from this blog for quite a while but I've been spending much of my time preparing for the convention this past weekend. One of the primary projects during 2013 was painting new AB French to replace my Old Glory units and go with a complete AB French army. All the months were spent on completing several new battalions as well as some cavalry and artillery.


So here are some images of the game I ran with my figures for the Anglo-Portuguese and the French forces.


Castrejon was a skirmish fought between the 4th and Light Divisions who were left more or less as a rearguard by Wellington during the 1812 campaign just right before Salamanca. Finding specifics on French units engaged has eluded me so I had to fill in units present with the Army of Portugal (and a couple of other units I simply liked the uniforms of). I suspect the French did not have many units up and in line, so this scenario was played as if the divergent column was part of the battle.


The battle was fairly slow to get started as the allies decided to slowly push their way forward.


A few turns in, the British artillery tried in vain to cut a path through the French units but failed to do much of anything. The British cavalry and their Portuguese allies were more aggressive and would suffer the brunt of the casualties despite facing almost equal numbers.


The French decided largely to leave the town to the Light Division that came up to occupy it. Multiple attempts would be made by the French 36th Ligne and 2nd Leger without any luck. The French hoped to lure the Light Division into the town and then use the weight of numbers to overwhelm the defenders.


The 3rd Btn of the 36th Ligne and the Cameron Highlanders engaged in a several turn struggle for securing the eastern edge of the town. The Highlanders were unable to recover from the multiple disruptions and were eventually swept away.


As the Anglo-Portuguese force reached its breaking point, much of the Light Division was weakened by failed attacks and two battalions occupying both sectors of the town. By the end of the final turn, the British cavalry was mutilated and the Light Division was facing some surely fatal flank attacks. Allied casualties were double that of the French and beyond the 33% army break point. Wellington will surely be upset at this loss!

May not be shown at the bottom of the pictures, but there were a few units present on both sides. I believe I counted 1450 figures. A nice game of Lasalle that out-shined all the other Napoleonic games going on at the convention.

Monday, November 18, 2013

Flintloque Catalucian Guerilla Cavalry


One of my final units for this force was a guerrilla cavalry unit. One of the nice features in Flintloque is the ability of the Catalucian Guerrillas to alter some of their stats by subtracting from one category and adding to another. The cavalry is a bit limited in this sense in that they have no shooting stats to deduct some points to add to the melee factor. This might seem a bit disadvantageous, but their stats are quite good considering what they're representing.

/>

In my first battle with them, they were the big show stopper. I kept them in reserve for a grand opportunity to pounce on an enemy when they weren't expecting it. Some Ferach line infantry turned a flank to these guerrillas thinking the forest would prevent a charge. Forming into column and then using a melee card for the charge bonus in distance and +3 to the melee factor, the Ferach troops were smacked around thoroughly and tossed back. The Ferach dragoon unit that came up suffered similar results with a minor melee card they were routed and then practically finished off by some artillery as they ran. The guerrilla cavalry's stats are quite similar to the enemies they would commonly encounter. No need to adjust their stats, they're quite good as is.

/>

I decided on a basic brown uniform and catching the eye with a nice yellow that is repeated on the hat, cuffs and trouser stripes along the outer seam. The unicorn was the portion I simply had to reject on the Alternative Armies website. White? Elves on unicorns is hard enough to swallow, but at least dark elves riding dark unicorns isn't so silly. I did them with pure black and heavy highlighting of grey to give it more depth. Considering the alternative, I believe it came out nicely.

/>

Perhaps in spring I'll work on a final line unit and use up some of the spare figures I have on hand. With my son being born a couple of months ago, painting and free time ain't what it used to be. In the next post I'll show off some 15mm AB French I've been painting to replace the Old Glory infantry units.